Unlocking the RE9 Bar & Lounge Safe: Your Essential Guide to Codes and Loot
Venturing through the desolate and danger-filled corridors of the Care Center in Resident Evil Requiem (RE9), every resource counts. Among the many secrets and valuable items scattered throughout this nightmare, the RE9 Bar And Lounge Safe stands out as an early opportunity to gain a significant edge. This guide will arm you with everything you need to know: the precise safe codes for every difficulty, where to find the safe and its in-game combination, and why cracking it open is crucial for your survival as Grace.
Unlike some minor stashes, the Bar & Lounge safe isn't just a trivial detour; it houses rewards that can dramatically improve your early-game capabilities. Whether you prefer to meticulously discover every secret the game offers or simply want to fast-track your progress, understanding this safe's mechanics and combinations is paramount. Get ready to navigate the spooky second floor, outwit the lurking threats, and claim your valuable prize.
Casual & Normal Difficulty Safe Code
For players navigating the horrors of RE9 on either Casual or Normal difficulty, the Bar & Lounge safe presents a straightforward, yet crucial, challenge. The code remains consistent across these two settings, ensuring a predictable path to valuable upgrades. The combination you'll need to input is:
- Left 10
- Right 80
- Left 30
To successfully open the safe, begin by turning the dial clockwise until it points directly at the '10' mark. Next, carefully rotate the dial counter-clockwise, bypassing '0' if necessary, until you precisely reach '80'. Finally, complete the sequence by turning the dial clockwise once more to land on '30'. Precision is key here; a slight overshoot or undershoot can reset your progress.
Insanity Difficulty Safe Code
True to its name, Insanity difficulty in Resident Evil Requiem often throws curveballs, and the Bar & Lounge safe code is no exception. Seasoned survival horror veterans looking for the ultimate challenge will find that the safe's combination shifts, demanding a new approach. If you're braving the Care Center on the highest difficulty, prepare to enter a different sequence:
- Right 20
- Left 50
- Right 30
When tackling the safe on Insanity, start by turning the dial counter-clockwise until you hit '20'. Then, switch direction, spinning it clockwise until you arrive at '50'. Conclude the sequence by turning the dial counter-clockwise one last time to '30'. Always remember to be deliberate with your turns and avoid rushing, as an error on Insanity can be particularly frustrating given the increased stakes.
Where to Find the Bar & Lounge Safe and Its In-Game Code
Knowing the codes is one thing, but locating both the safe and, for those who prefer immersion, its in-game combination document, is another. The Resident Evil Requiem: Bar & Lounge Safe Location & Code guide provides a deeper dive, but here's a comprehensive overview.
Locating the Safe Itself
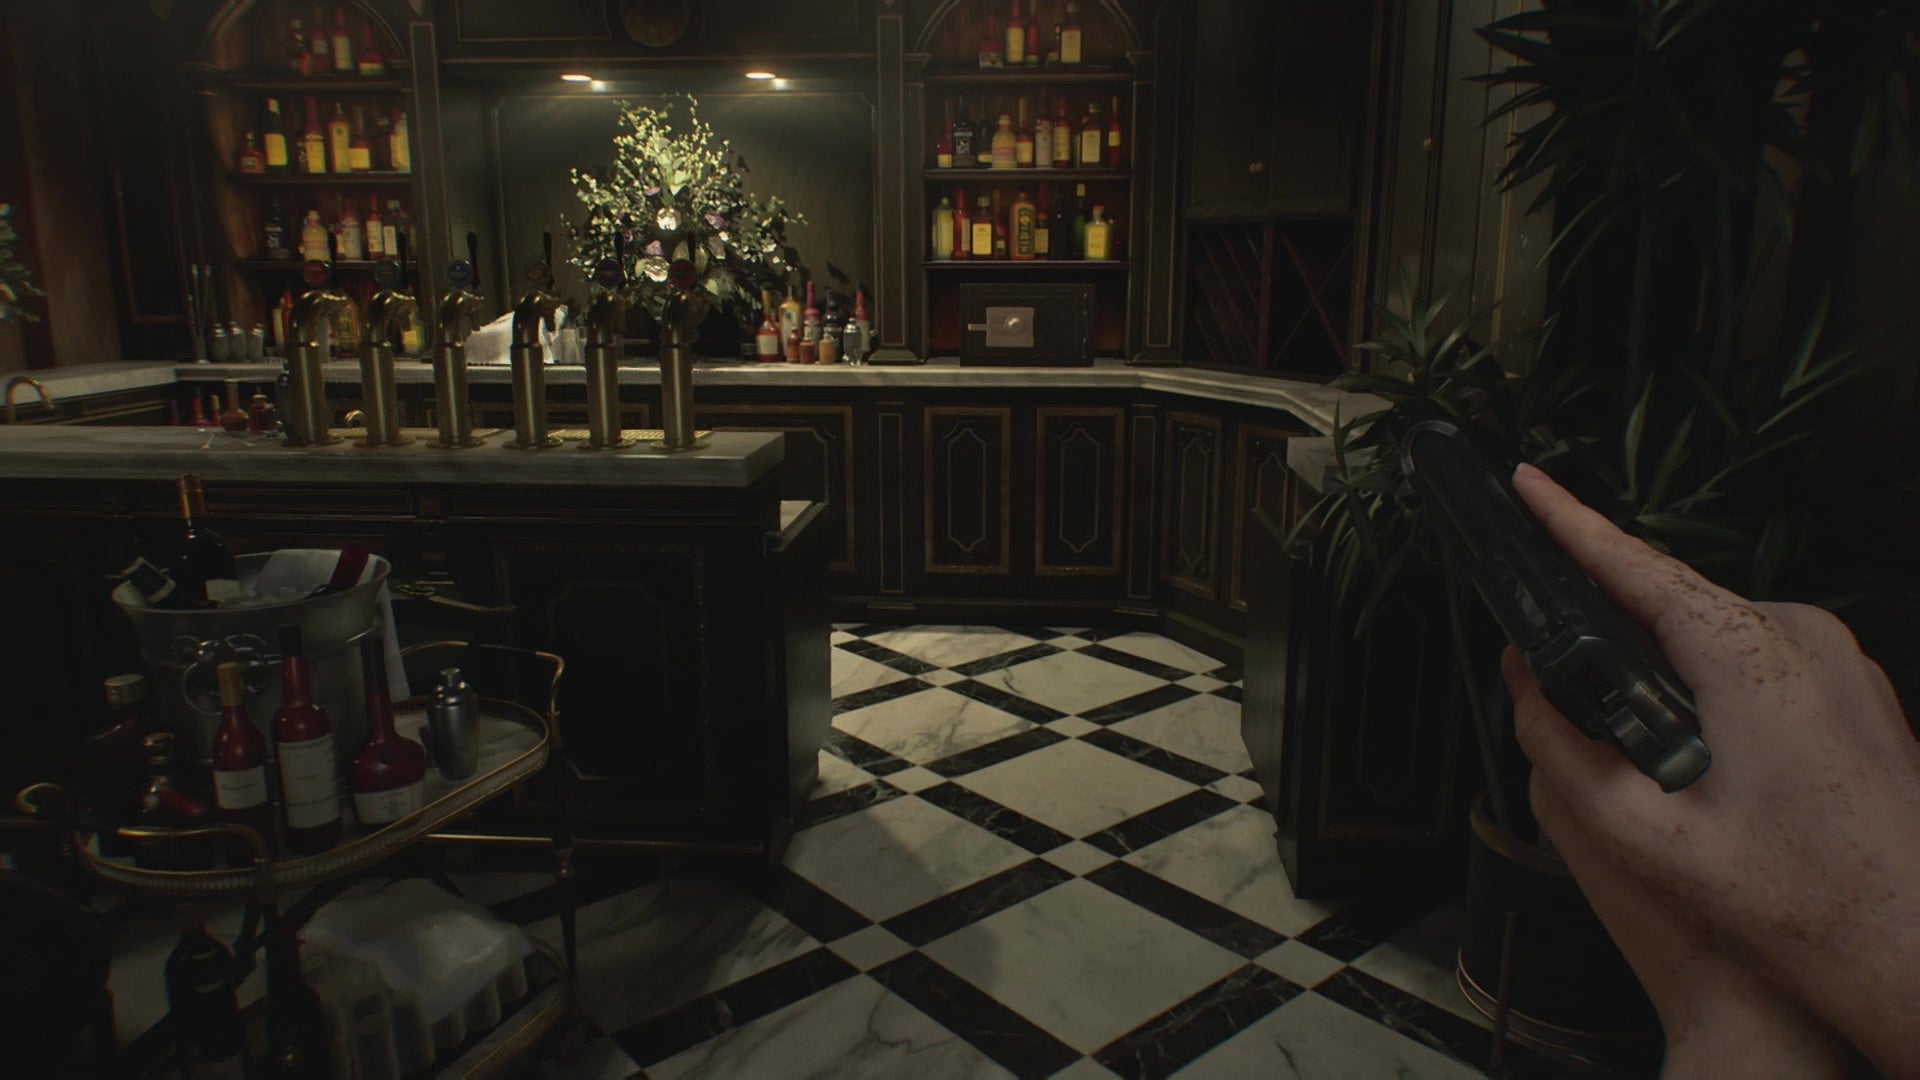
The Bar & Lounge safe is nestled within the sprawling Care Center, a primary location in RE9. You'll find it specifically on the 2nd Floor. Once you enter the Bar & Lounge room, make your way towards the northwest corner. The safe is conveniently located behind the counter, often partially obscured but hard to miss once you're in the right area. This room can be patrolled by a "Singer," a particularly nasty enemy whose screams can alert other nearby infected, so approach with caution or clear the area before attempting to crack the safe.
The Hunt for the Safe Code Document (In-Game)
For players who prefer to uncover every secret themselves rather than relying on guides, tracking down the Bar & Lounge safe code document involves a bit of exploration and backtracking. The journey begins as Grace, early in your exploration of the Care Center's second floor:
- Accessing the Office: Your initial path requires you to unlock a specific door found at the end of the Parlor corridor. To do this, you must first possess the ID Wristband (Level 1). This crucial item is acquired on your way to the Conference Room in the East Wing, meaning you'll need to progress a bit through the facility.
- Reaching the Second Floor West Wing: After obtaining the wristband, proceed up the stairs located across from the Custodian's Office. This will take you to the second floor.
- Finding the Document: The very first door you encounter on this part of the second floor leads directly into the Office. Inside, the document containing the Bar & Lounge safe code is prominently displayed on a desk ahead of you.
- Returning to the Safe: With the code in hand, you'll need to make your way back to the Bar & Lounge. An efficient route involves heading north through the Kitchenette, unlocking the door there, which will place you in the hallway directly west of the Bar & Lounge.
Be warned: the path to the code, and then back to the safe, means navigating areas potentially teeming with enemies, including the aforementioned Singers. While you don't *have* to eliminate every enemy, doing so will certainly make the trip to the Bar & Lounge safe, and the act of opening it, much less stressful.
Why Bother? The Value of RE9's Bar & Lounge Safe Rewards
In a game where every bullet, healing item, and inventory slot matters, deciding whether to spend time on optional objectives is crucial. For the RE9 Bar And Lounge Safe, the answer is a resounding yes. The rewards within are far from trivial and offer tangible benefits that can dramatically influence your early-game survival and strategic planning.
Upon successfully cracking the safe, you will be rewarded with 3 Antique Coins. These aren't mere collectibles; they are a vital currency used at the Parlor, often accessible early in the game. The Parlor serves as your primary hub for essential upgrades that can turn the tide against the Care Center's horrors. With these 3 Antique Coins, you can purchase one of two immediately impactful upgrades:
- Hip Pouch: This invaluable upgrade significantly expands your inventory capacity. More inventory slots mean you can carry more healing items, extra ammunition, and crucial key items without constant inventory management headaches. In a game where every slot counts, an expanded inventory provides immense strategic flexibility.
- Stabilizer: The Stabilizer is a gun upgrade that improves your weapon handling and, crucially, boosts its firepower. Better handling means more accurate shots, especially under pressure, while increased firepower allows you to dispatch enemies more efficiently, saving precious ammunition and reducing the risk of being overwhelmed.
Choosing between the Hip Pouch and the Stabilizer depends on your playstyle, but both offer substantial advantages. An expanded inventory allows you to be more self-sufficient and prepared for unexpected encounters, while enhanced weapon performance can make challenging combat scenarios more manageable. These early upgrades set a strong foundation for the rest of your playthrough, making the effort to open the Bar & Lounge safe incredibly worthwhile. For more detail on these essential items, consult our Unlock RE9 Bar & Lounge Safe for Antique Coins & Upgrades article.
Pro Tips for Safe Cracking and Survival in the Care Center
Navigating the Care Center and cracking the RE9 Bar And Lounge Safe successfully requires more than just knowing the code. Here are some pro tips to ensure a smooth, rewarding experience:
- Master Safe Mechanics: The most common mistake players make with safes in RE9 is attempting to pull the handle after each dial turn. This will reset your input! Instead, you must complete all three dial turns in the correct sequence before gently pulling the safe handle to open it. Patience and precision are your allies here.
- Clear the Area First: The Bar & Lounge can be a dangerous place, especially with a Singer patrolling. These creatures can call in reinforcements, turning a simple safe-cracking into a chaotic fight. Consider eliminating the immediate threats in the room before attempting to open the safe. Stealth is an option, but a clear room offers peace of mind.
- Resource Management is Key: Deciding which upgrade to purchase with your Antique Coins is an important strategic choice. If you find yourself constantly running out of space, the Hip Pouch is a godsend. If combat feels too challenging, the Stabilizer can give you the much-needed edge. Evaluate your current struggles and prioritize accordingly.
- Early Bird Gets the Worm (or Coins): While finding the code in-game provides immersion, knowing the code beforehand can save you significant time and backtracking, especially if you're aiming for a faster playthrough or simply want the upgrades as soon as possible. Don't be afraid to use a guide to streamline your progress.
- Listen for Cues: Pay attention to audio cues when approaching the Bar & Lounge. The distinct, unsettling sounds of a Singer will alert you to its presence, allowing you to plan your approach – stealthy evasion or aggressive engagement – before you're spotted.
Conclusion
The RE9 Bar And Lounge Safe stands as a prime example of Resident Evil Requiem's blend of challenging puzzles and rewarding exploration. Whether you're carefully tracking down the in-game document or using this guide for a swift unlock, understanding its codes and mechanics is a direct path to strengthening Grace's chances of survival. From the varying combinations for Casual/Normal and Insanity difficulties to the strategic value of the 3 Antique Coins for upgrades like the Hip Pouch or Stabilizer, every piece of information here is designed to give you an advantage. Arm yourself with this knowledge, navigate the horrors of the Care Center, and unlock the vital resources hidden within the Bar & Lounge safe to face the terrors of RE9 head-on.